


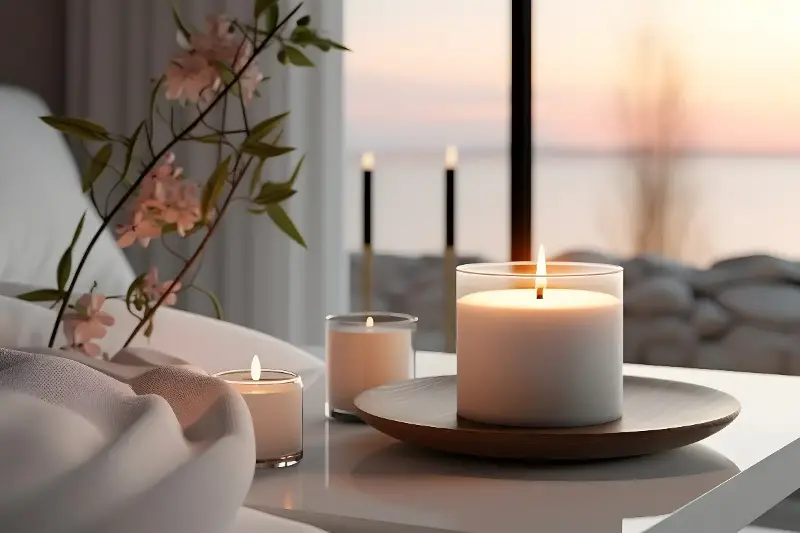
Making scented candles at home is one of the simplest ways to turn an ordinary evening into a calmer, more comforting experience. A handmade candle can fill a room with a fragrance that feels deeply personal, while its soft glow creates a peaceful atmosphere. The process is also remarkably practical: with a few reusable tools and the right wax, you can make beautiful candles for your own space or craft thoughtful gifts for friends and family.
Why Homemade Candles Feel So Relaxing
Scent is closely connected to memory and emotion.
-
Restful evenings: Lavender and chamomile create a soothing atmosphere before bed.
-
Fresh energy: Citrus scents like bergamot and lemon feel light and uplifting.
-
Warm comfort: Vanilla and warm spices create a cozy, familiar mood.
The gentle ritual of candle making is naturally soothing. Measuring wax, monitoring temperature, and positioning a wick requires gentle focus without being stressful. It offers a wonderful creative break for a quiet weekend, especially when you want to spend less time staring at screens.
Choosing the Right Wax and Container
Selecting quality materials ensures your candle burns safely and cleanly:
-
Soy Wax: Highly recommended for beginners. It is plant-based, burns slowly, and has a clean, natural appearance.
-
Coconut Wax: Produces a smooth burn and holds fragrance well, though it tends to be slightly more expensive.
-
Beeswax: Has a beautiful golden hue and a natural honey aroma, but its native scent can overpower delicate fragrance oils.
Important tip: Avoid using ordinary crayons, food coloring, or personal perfume. Crayons clog the wick, food coloring separates from wax, and spray perfume is not formulated for open flames. Stick to specialized candle dyes and fragrance oils.
For containers, glass jars, ceramic cups, metal tins, and heat-safe vessels all work well. Ensure your vessel is completely clean, dry, and free of cracks. Small jars with wide openings are particularly beginner-friendly because they are easy to fill and allow fragrance to disperse evenly.

Essential Supplies and Wick Sizing
To start crafting, gather wax flakes, heat-safe jars, wicks, wick stickers, candle fragrance oil, a thermometer, a pouring pitcher, and a double-boiler setup. A simple wooden stick or clothespin will help keep the wick centered as the wax cools.
Wick selection matters immensely. A wick that is too small creates a weak flame and forms a deep tunnel down the center. A wick that is too large burns too hot, produces dark soot, and melts wax too quickly. Always choose a wick size based on the specific width of your jar and the density of your wax.
How to Melt and Fragrance Your Wax
-
Melt gently: Place wax in a pouring jug over a saucepan of gently simmering water. This double-boiler method heats wax gradually and safely.
-
Check the temperature: Soy wax commonly melts around 49°C to 82°C. Follow your specific product instructions for the exact melting point.
-
Add fragrance: Allow the wax to cool slightly—typically to 75°C–85°C—before adding fragrance oil.
-
Stir thoroughly: A standard fragrance load is 6% to 10% of the wax weight (about 12 to 20 grams of scent per 200 grams of wax). Stir slowly and continuously for two minutes so the fragrance binds fully.
Safe and Beautiful Styling
Secure the wick to the bottom center of your jar using a wick sticker or a drop of melted wax. Slowly pour the scented wax into your jar, leaving about one centimeter of space at the top.
-
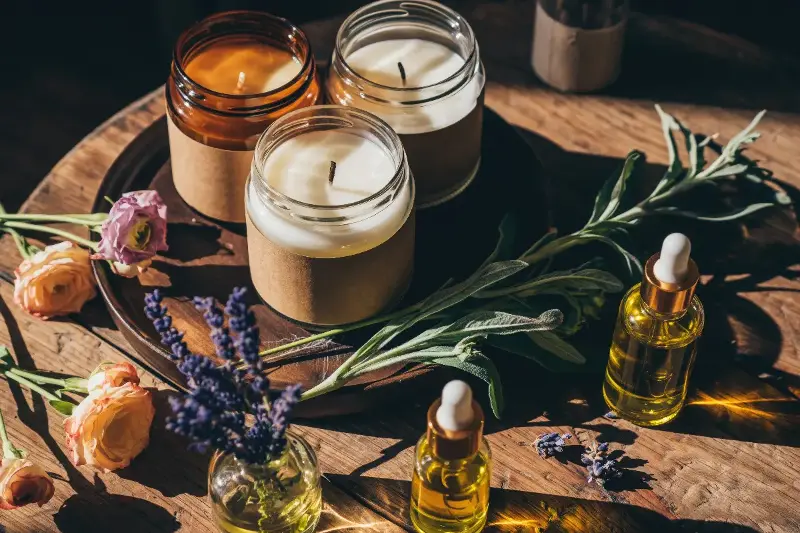
Clear glass and natural soy wax offer a clean, minimalist aesthetic.
-
Amber glass jars provide a warm, apothecary-inspired style.
-
Pastel ceramics make a candle look modern and playful.
While dried flowers and botanical petals look lovely, they can become severe fire hazards if placed near an open wick. For safety, decorate the outside of your jar with a custom label, jute ribbon, or a dried-flower tag instead.
Curing and Burning Safely
Allow your finished candle to sit undisturbed on a flat surface. Soy wax benefits from a cure time of one to two weeks, which significantly improves the scent release when lit.
Before lighting, trim the wick to about 5 millimeters to promote a steady flame and prevent soot. For the very first burn, let the candle stay lit for two to four hours so the top layer of wax melts completely to the edges—this prevents future tunneling. Never burn a candle for more than four hours at a time, and always keep it away from drafts, pets, and flammable items.
A handcrafted candle is more than a simple decoration; it is a gentle invitation to slow down, breathe deeply, and make your home feel like a sanctuary.